How to Remove Watermarks from Images with AI
If an overlaid word or logo covers an image you have permission to edit, AI can help reconstruct the area beneath it. This guide explains how to prepare your file, use the current editor, compare actual examples and check the saved result before putting it to use.
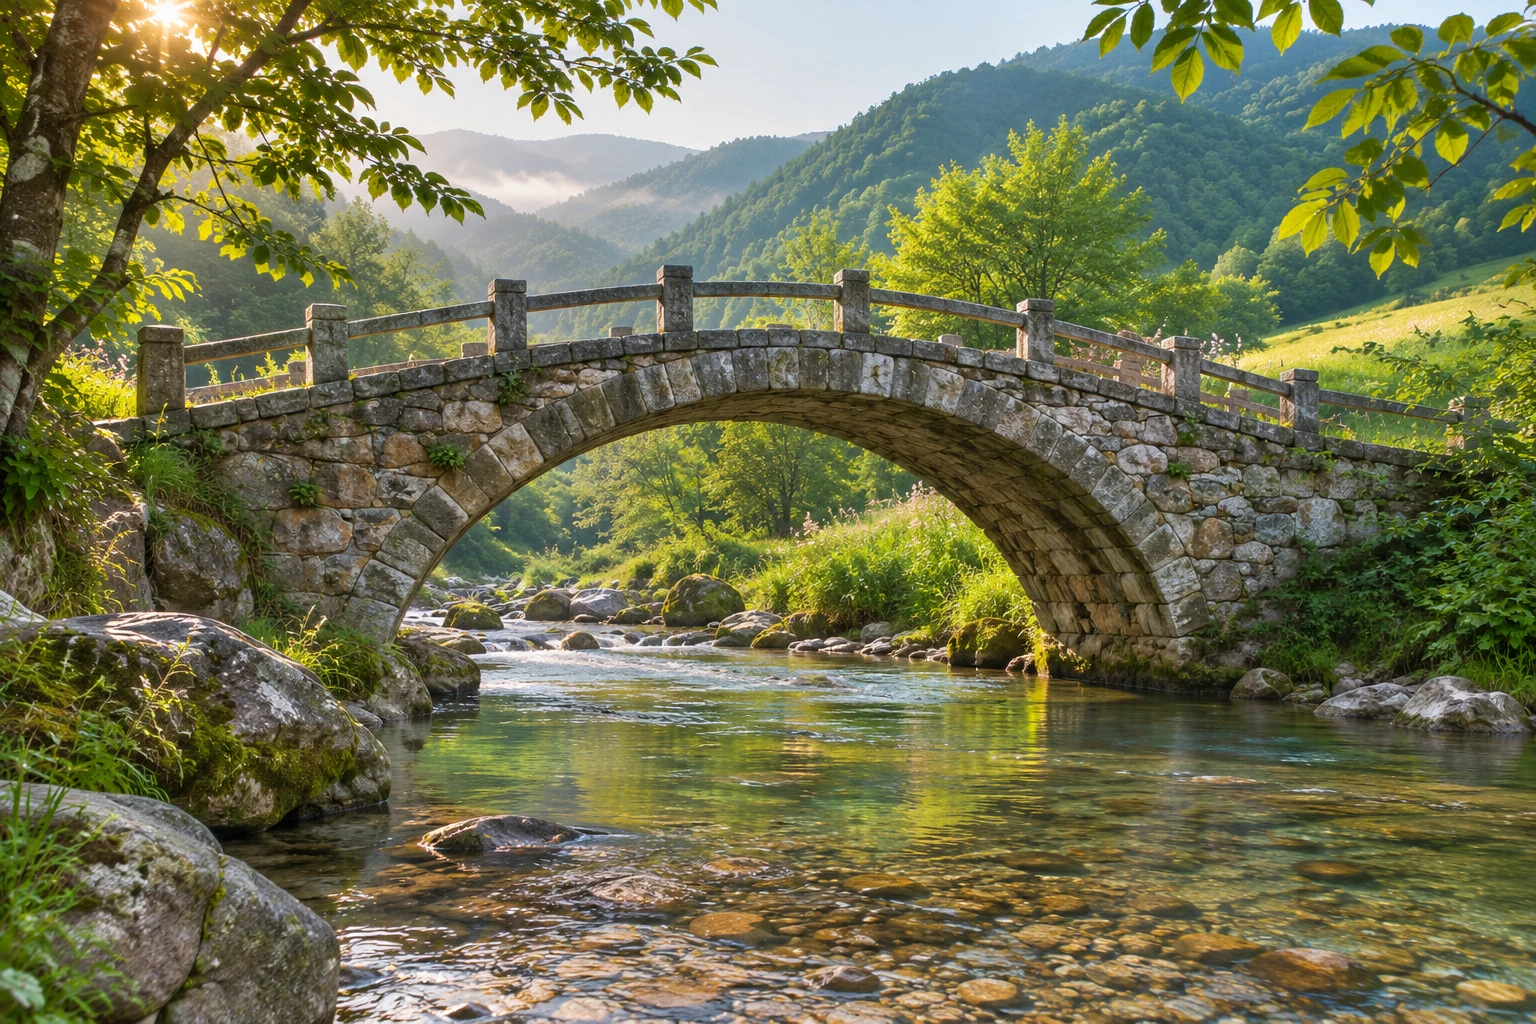
Decide whether this image is a suitable candidate
Start with your own photograph, your own product image or an image you have permission to edit. If you still have a layered design file, hiding the watermark layer and exporting again is usually more direct. Check whether your original download also includes an unwatermarked version before attempting reconstruction.
AI uses the surrounding colors, textures and shapes to generate a plausible replacement. It cannot see the original detail beneath an opaque mark. A watermark over open sky presents a different problem from one covering a face, a piece of jewelry or small packaging text.
Decide which details must remain accurate before uploading. A product code or a person's features may matter more than an attractive overall result. Those details need checking even when the watermark appears to be gone.
- Confirm your permission to edit and keep an untouched source file.
- Identify the covered area and the nearby background the model could use as a reference.
- Note the text, colors and outlines that must remain accurate.
Prepare a clear file in a supported format
Use the original export from your camera, design app or photo library when possible. Messaging thumbnails, screenshots and repeatedly saved copies may have lost fine texture. Enlarging a low-resolution file does not recreate useful reference information.
The current editor accepts one JPG, PNG or WebP image up to 50 MB. For a larger file, export again from the original and adjust compression or dimensions carefully. Check small text and edges after compression. Changing a filename extension alone does not convert the file.
| Item | Current support | Before uploading |
|---|---|---|
| Format | JPG, PNG and WebP | Use an actual supported image format, not a renamed extension. |
| File size | Up to 50 MB per image | Export a smaller copy from the source if necessary. |
| Quantity | One still image per task | Process files separately; batch and video modes are not available. |
| Selection | Automatic whole-image editing | There is no selection brush, local mask or manual repair tool. |
Upload, start the edit and save the result
Select a file in the homepage upload box, or drag your image into it. Check the filename and original preview first. Selecting a file does not submit an edit: clicking Remove watermark starts the upload and processing workflow.
The editor may show an upload stage followed by a pending or processing state. Keep the page open until the result appears. You do not need to write a prompt, and the current automatic editor cannot target just one of several marks with a brush.
- Choose one supported image and check its filename and preview.
- Review the credit cost beside the button, then click Remove watermark once.
- Wait for upload and processing rather than submitting repeated requests.
- Compare the result with the original, especially the covered area and important subjects.
- Click Download image, then open the saved file to inspect its full frame and dimensions.
Text example: inspect both the sea and the rocks
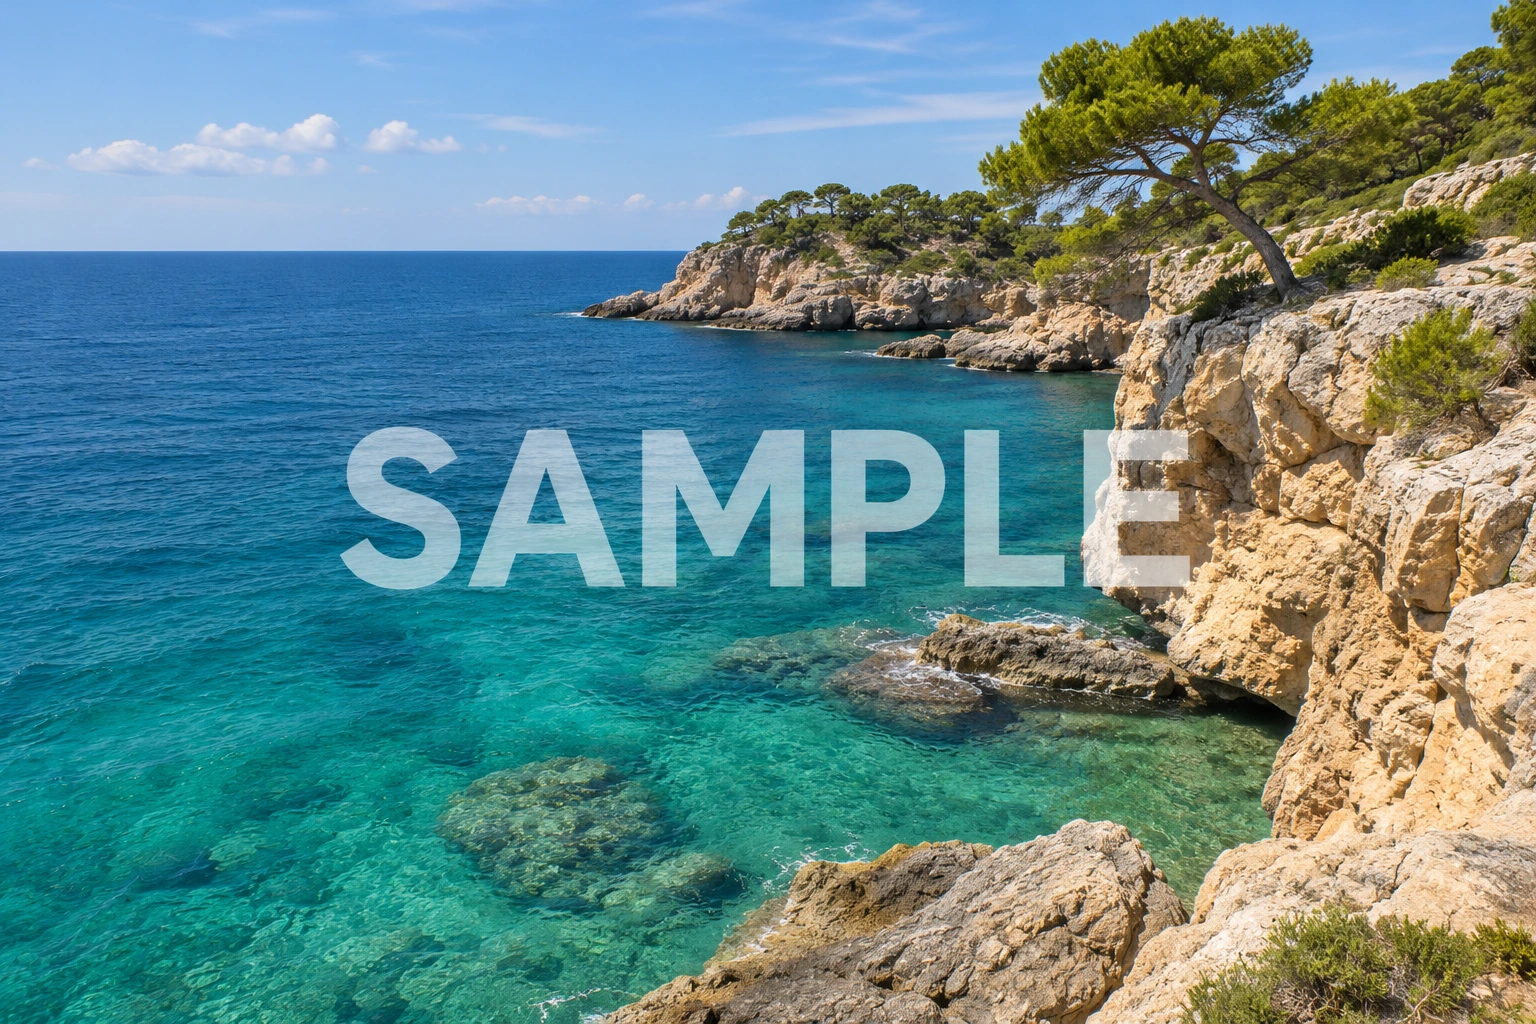
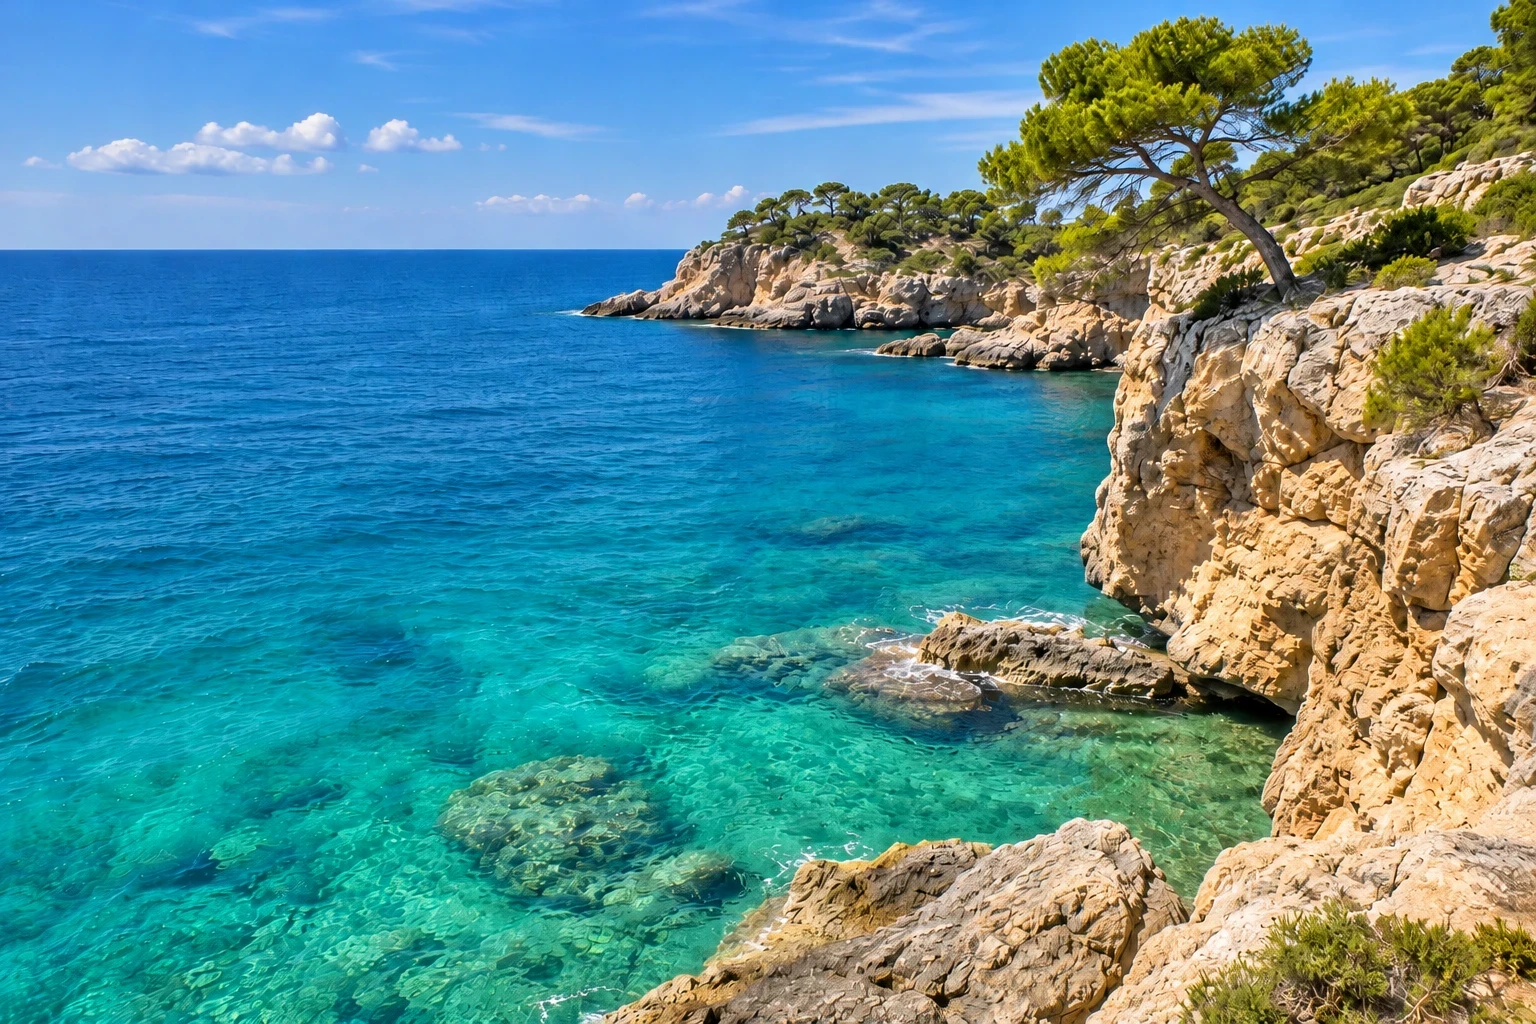
The source below was AI-generated with a large SAMPLE overlay across water and rock. The result was produced with this site's current watermark removal model and editor settings, without manual retouching. It shows an actual edit rather than a separately created clean image.
Find the original position of each letter, then follow the water texture and rocky edges through that area. Removing the text can also regenerate ripples, stones and lighting detail nearby. This example illustrates reconstruction; it does not predict an identical outcome for another photograph.
Logo example: an opaque mark requires reconstruction
In the ceramic example, a white emblem hides part of the pottery and stone surface completely. The model estimates that area from the visible outline, shadows and nearby material. Trace the pitcher base to see whether the contour stays coherent and remains distinct from its contact shadow.
For your own product images, also read any labels, model numbers or capacity markings. An overlaid logo and a real label on an object serve different roles. The editing instruction asks the model to keep scene text, but automatic interpretation can still make mistakes.


Understand the trial and credit rules before starting
Each standard edit costs 5 credits. Downloading its result costs no additional credits. Guests receive 5 credits per calendar month, subject to both guest identity and IP usage limits. Activity from the same network can therefore affect the available guest allowance.
After the guest trial, sign in to use account credits. New accounts created with Google currently receive 5 registration credits; email registration does not include registration credits. Signed-in users can also earn credits through daily check-ins or buy them on the separate pricing page.
Submitting another edit creates a new task and costs credits again. A failed task refunds deducted account credits. A completed image with an unwanted texture is a visual-quality issue, which is different from a technical processing failure. Do not start another edit just to view or download an existing result.
Troubleshoot the stage that actually failed
Check whether the problem happened during file selection, upload or model processing. A connection error does not necessarily mean that no task was created. Signed-in users should check their account's task records before submitting the image again.
If a file opens normally but cannot be processed, try exporting a fresh supported file from the original. Avoid repeatedly submitting the same failing file. Keep the error message and note the stage at which it appeared so you can describe the problem accurately.
| Symptom | Check first | Next step |
|---|---|---|
| Unsupported format | Whether the actual file is JPG, PNG or WebP | Convert it in an image app and select the new file. |
| File too large | Whether it exceeds 50 MB | Export a smaller copy and inspect important detail. |
| Upload or connection interrupted | Connection stability and whether a task exists | Check existing tasks before creating another edit. |
| Long wait | Whether the task is still pending or processing | Keep the page open; members can check their account tasks. |
| Guest credits exhausted | This month's guest and IP allowance | Sign in to use account credits or view available plans. |
Inspect the downloaded file and keep the original
The editor preview is a quick comparison, not the final inspection. Open the saved file, confirm that it displays correctly and check its width, height and aspect ratio. Inspect product text, identifying features and the repaired region at a useful scale. The model matches a supported output ratio; exact original dimensions are not guaranteed.
Save the original and result under different names. If important detail has changed, return to a source design file or choose another permitted image. Repeatedly editing an already generated result may introduce further changes. The companion guide, How to Check AI Watermark Removal Results, provides a detailed inspection order.
Images are uploaded to cloud storage and sent to an AI provider for processing, rather than processed only on your device. Read the privacy policy before uploading and decide whether that workflow suits the image's contents.
Frequently asked questions
Can I select only one watermark?
The current editor processes the image automatically and has no manual selection brush. If an image contains both overlays and text you want to keep, check each separately after processing.
Can I process videos, animated images or several files at once?
The tool currently accepts one still JPG, PNG or WebP image up to 50 MB. It does not offer video, animation or batch-processing modes.
Does selecting a file immediately use credits?
No. Selecting the file does not start a task. Clicking Remove watermark submits the edit, which costs 5 credits for standard processing. Downloading the result is included.
Why were some original details changed?
The model generates replacement content and may also alter nearby or unrelated detail. A clear source gives it more information, but cannot guarantee recovery of the hidden original pixels.
Does removing a watermark change my permission to use an image?
No. The image's permission conditions still apply. Edit and use only images for which you have the necessary rights, and prefer an available unwatermarked original.